Search Coach, how to use it? How to set it up, and how to use it with your assignments?

In a world that is increasingly dependent on online resources, and continually threatened by false and misleading information, Search Coach is a tool that provides context and guidance for students to ask effective questions and discover reliable sources.
That is what Microsoft says about their new product, when you try to find something about this.
And it’s true, think about it. When you are at school, and you open your laptop for the first time. You see Google / Bing for first time in your life, and you make your first search query… Do you remember your first search?
Anyways, after you do your first search, by now we all know that there will be many, there will be many links on that search page where you SHOULD NOT CLICK.
There are so many advertisers (well yes, Google and Bing need some money too, to run those websites.)
But when you are there for the first time, searching for that cat picture that you need for your first PowerPoint presentation, the search page should be safe.
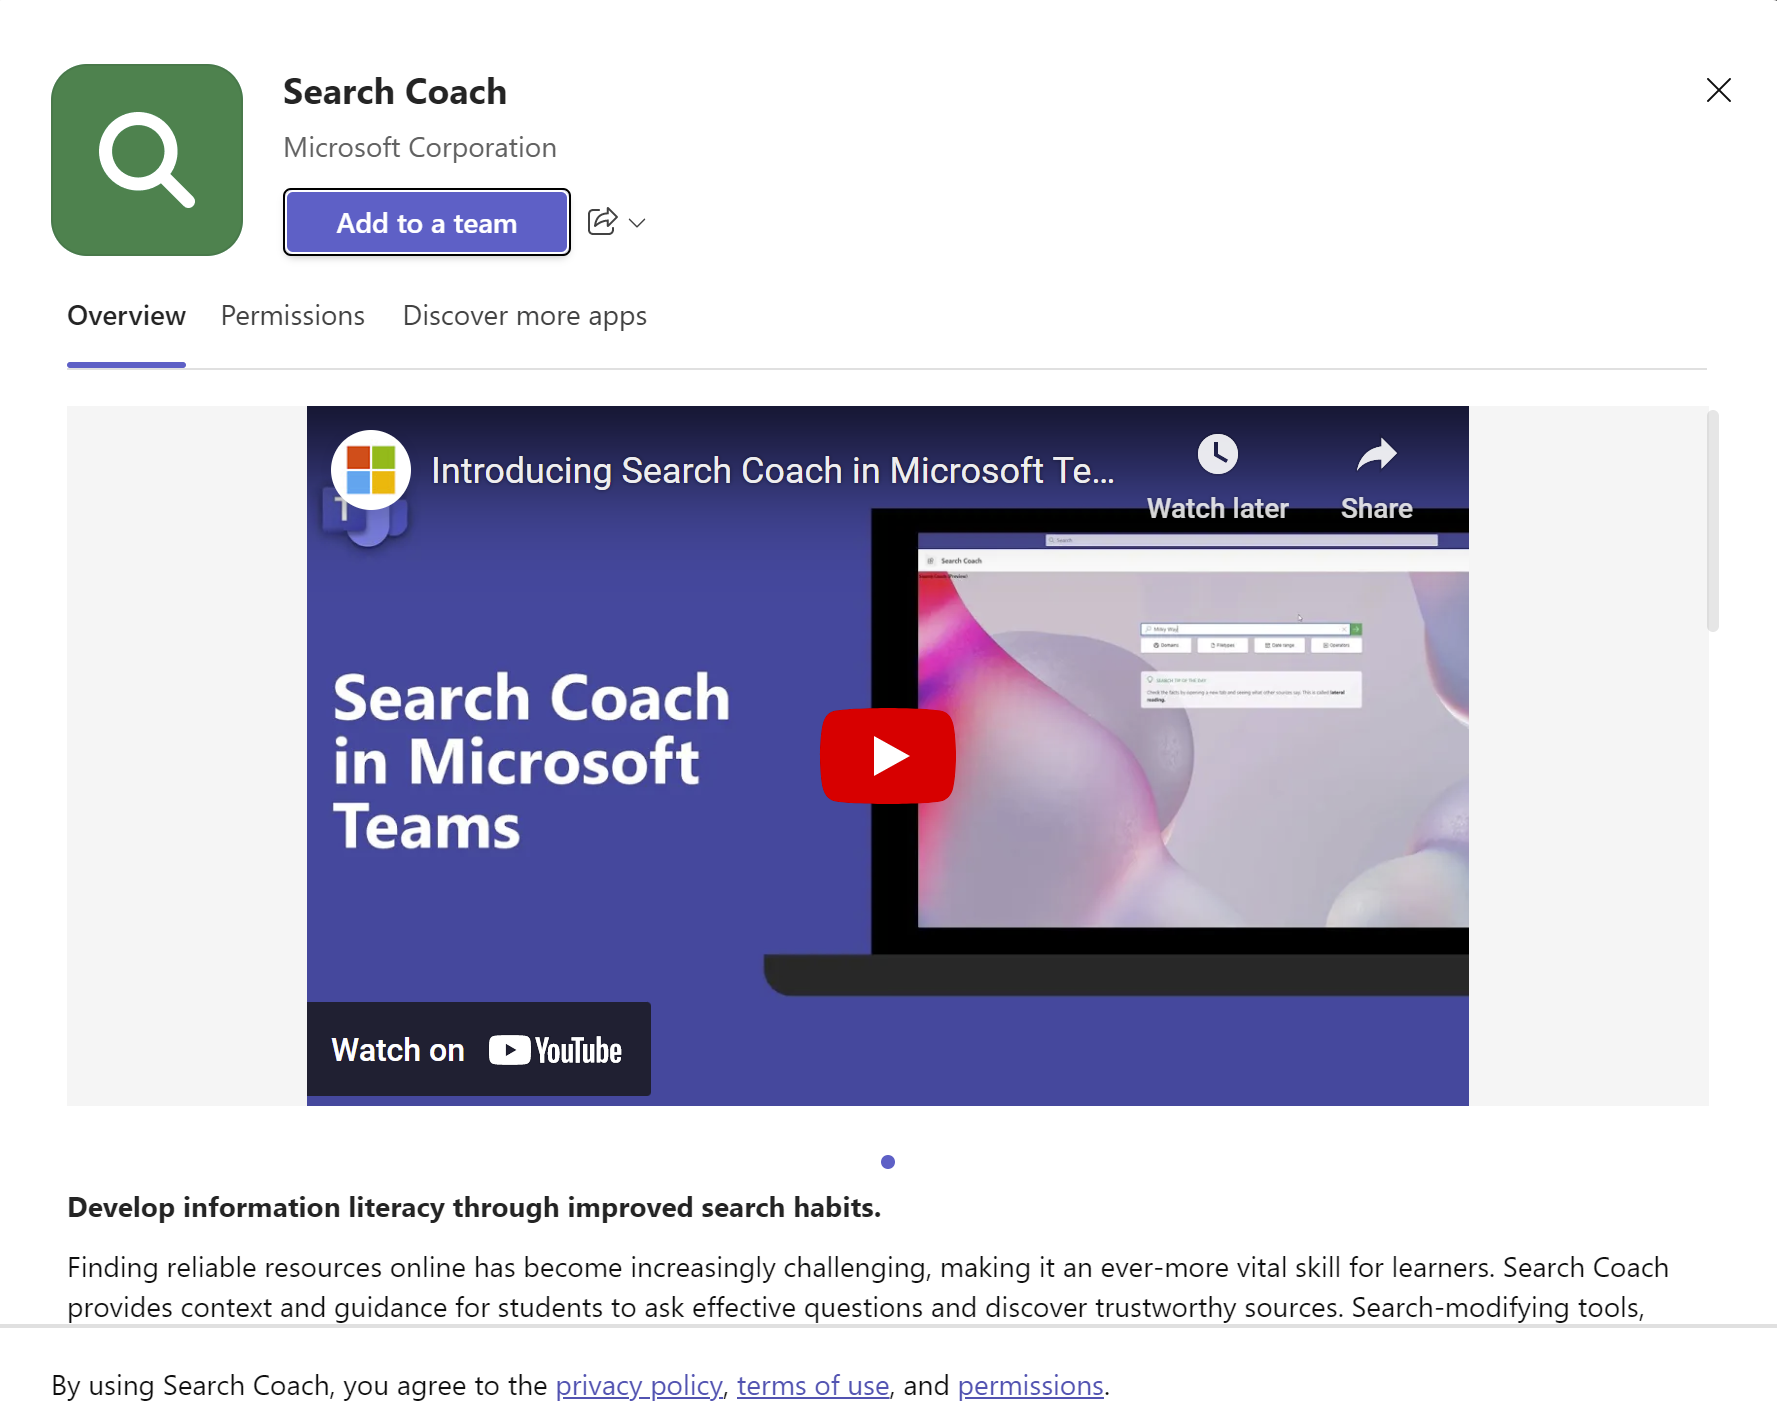
And that is where the Search Coach app comes in hand. There are no ads, it has good reliability & trust ratings, it gives you search tips in every screen, and it’s customizable for your class.

Let’s add this Search Coach App into your Team and let’s see what you can do with it, and later we also see how you can use this with your assigments.
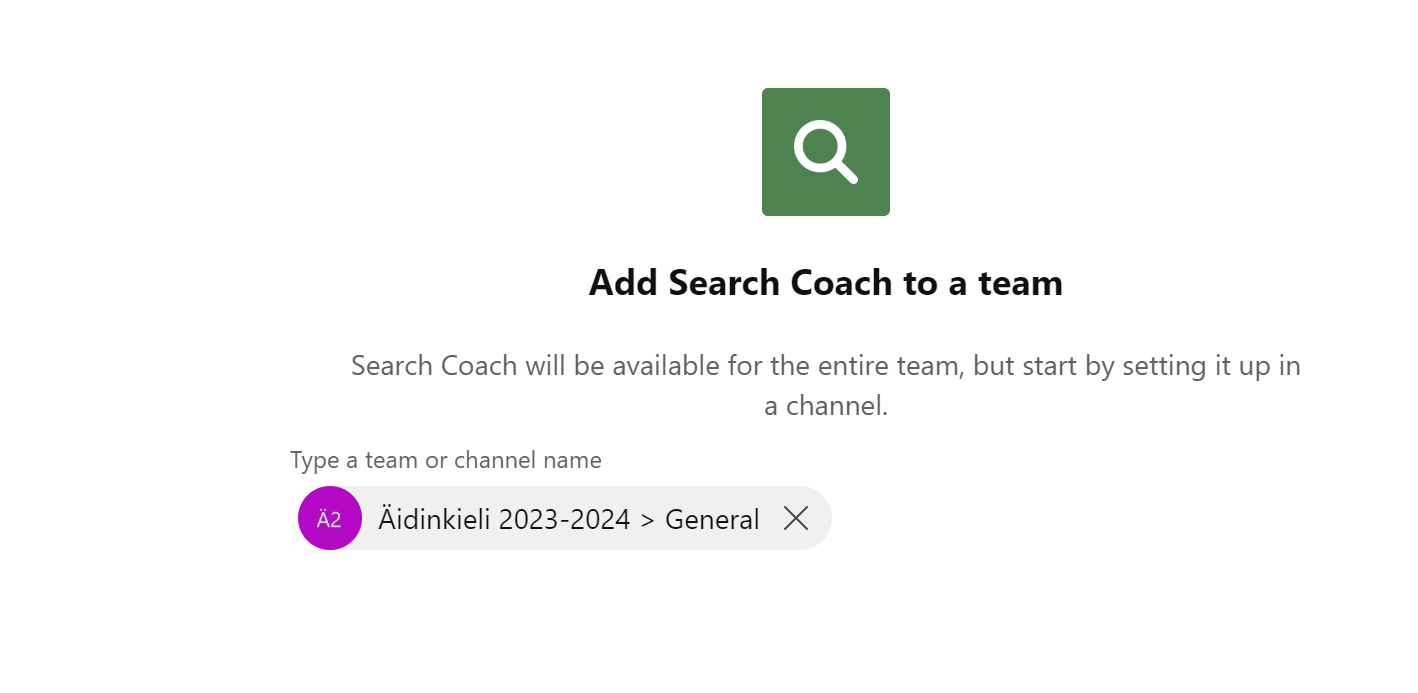
After you have found your Team where you want to add this app, we can see our frontpage

As you can see on this picture, the Search Coach is a tab on your Team so you can easily access it. Let’s check the settings first on the upper right corner, and see what’s in there.
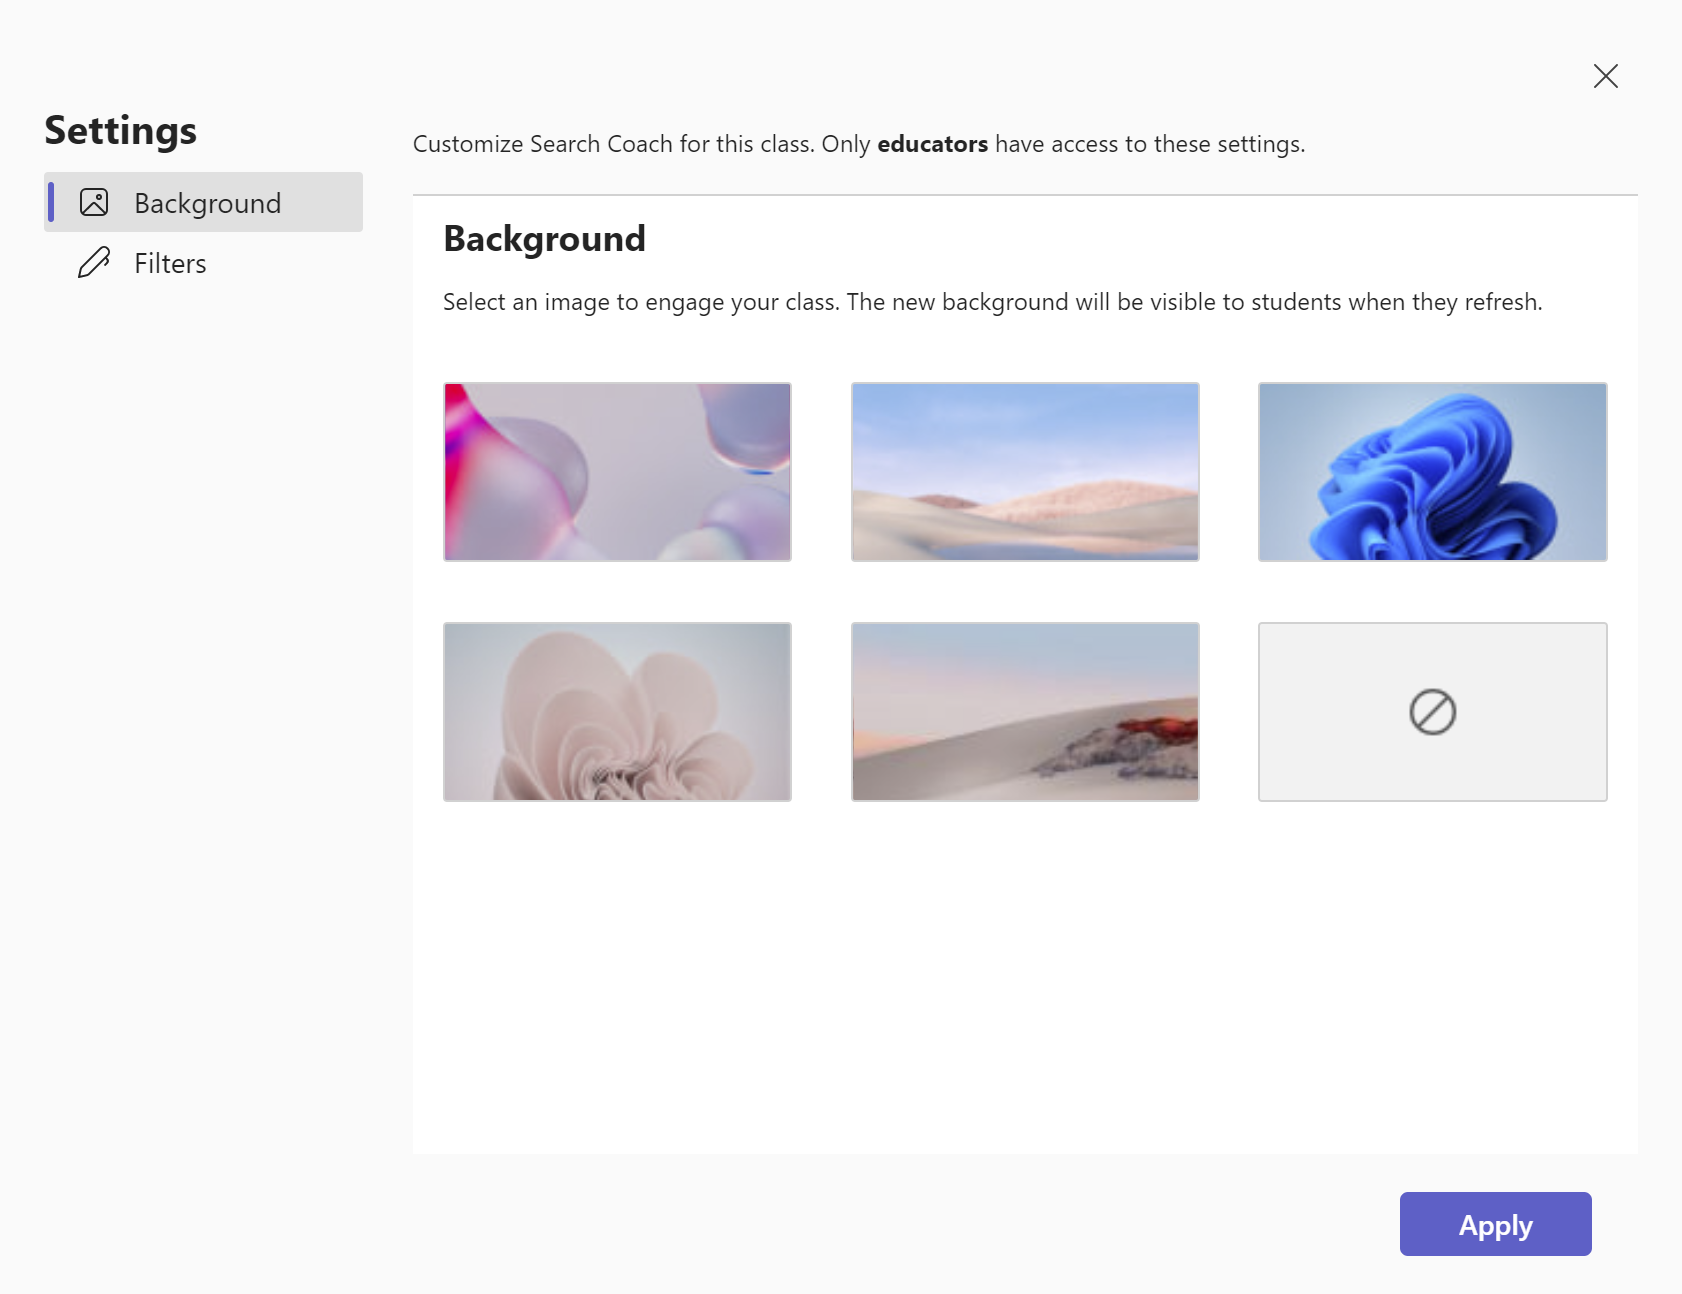
First we can change the perfect background for us.
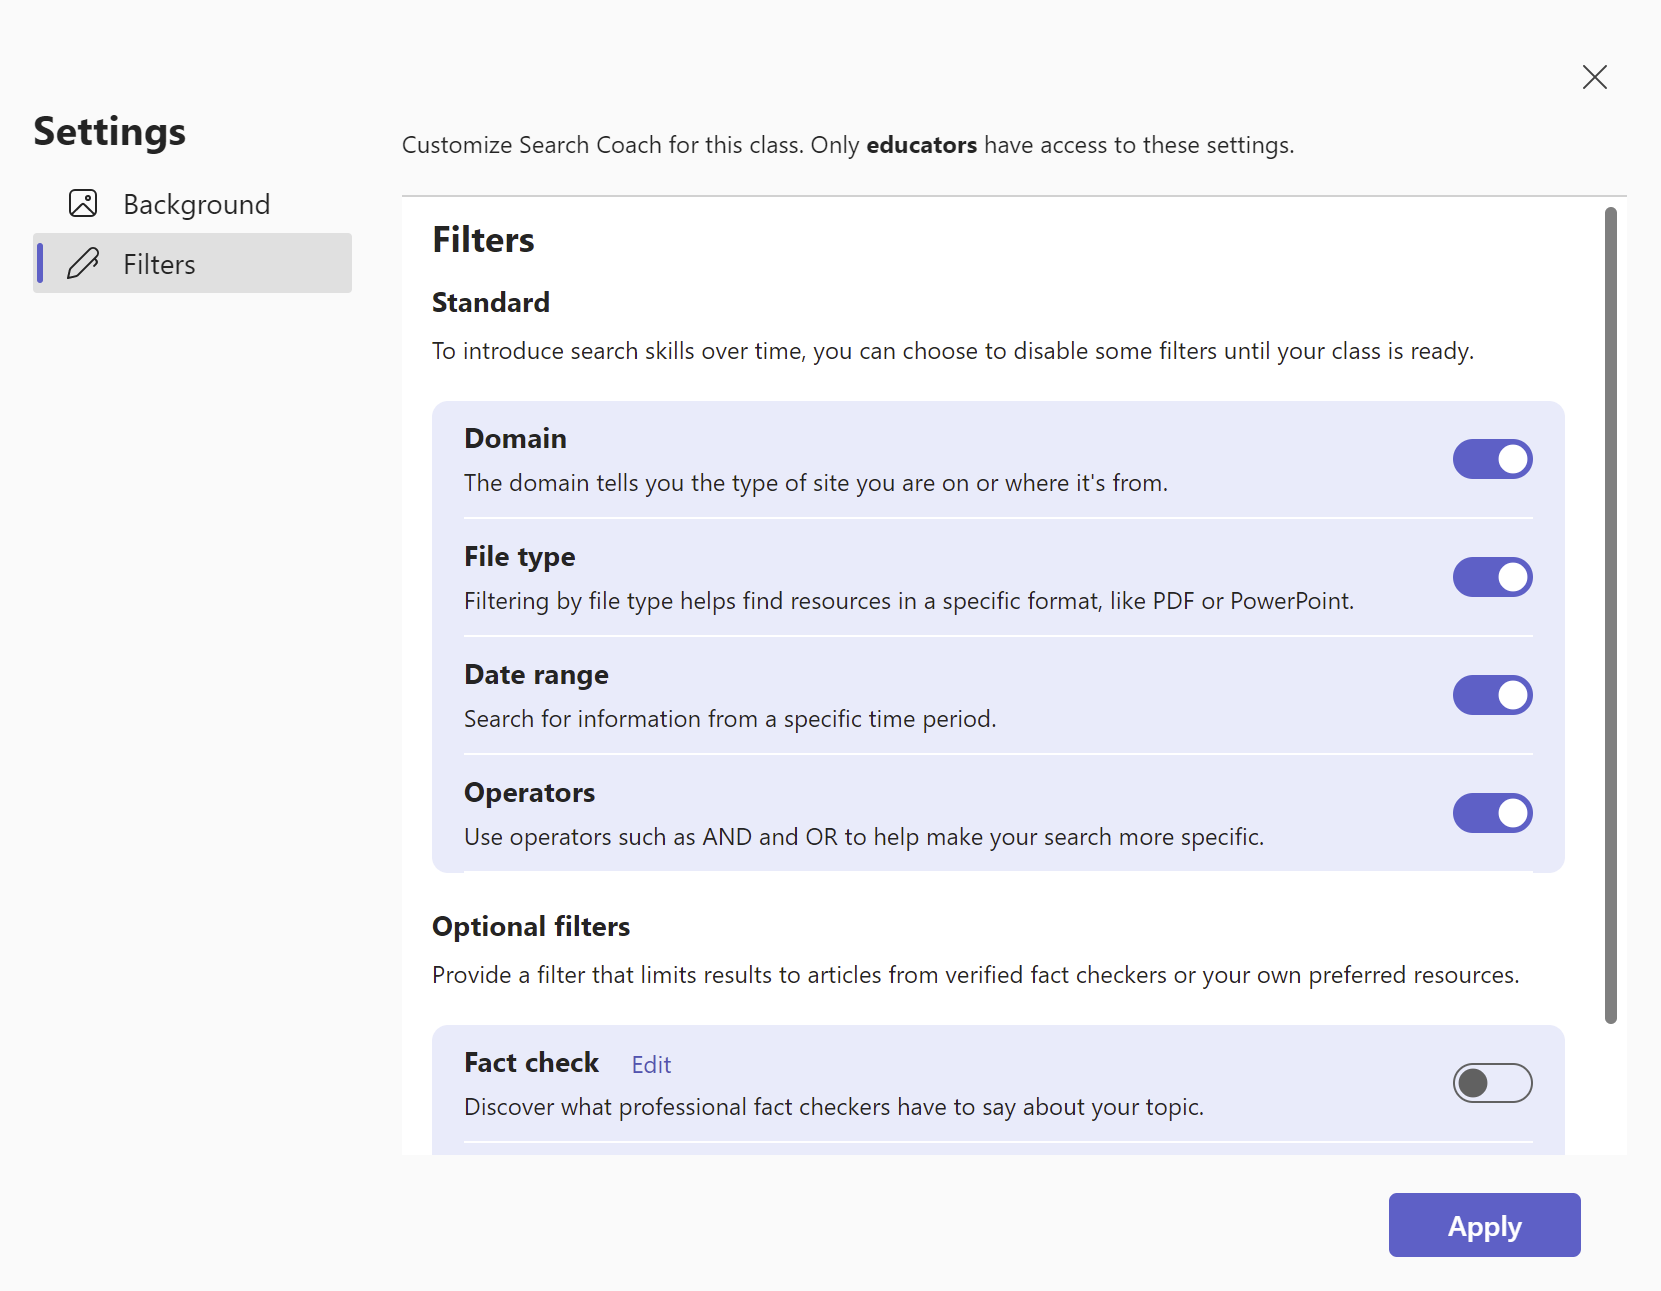
Then we have filters, there you can choose which search “helpers” you want to turn on or off.
Later on this blog, I’ll go through all those and what you can do with those.
After you scroll little bit further down, you can see optional filters.
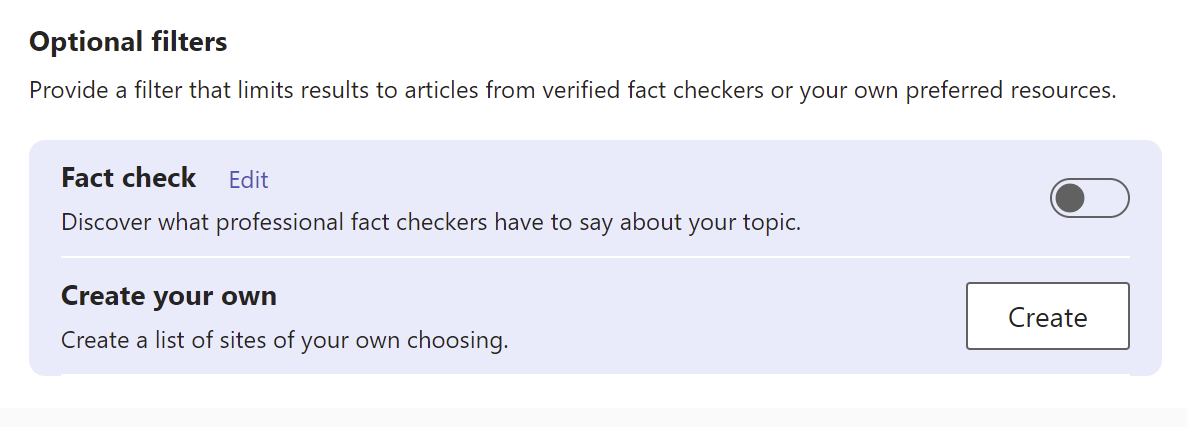
Here you can add a couple of things to help the students’ searches. First, you can turn on the “Fact check” so professional fact checkers can see your topics.
Also, you can create your own sites here where you want students to go and search.
Now that the settings section is ready, we can go back to the front page.
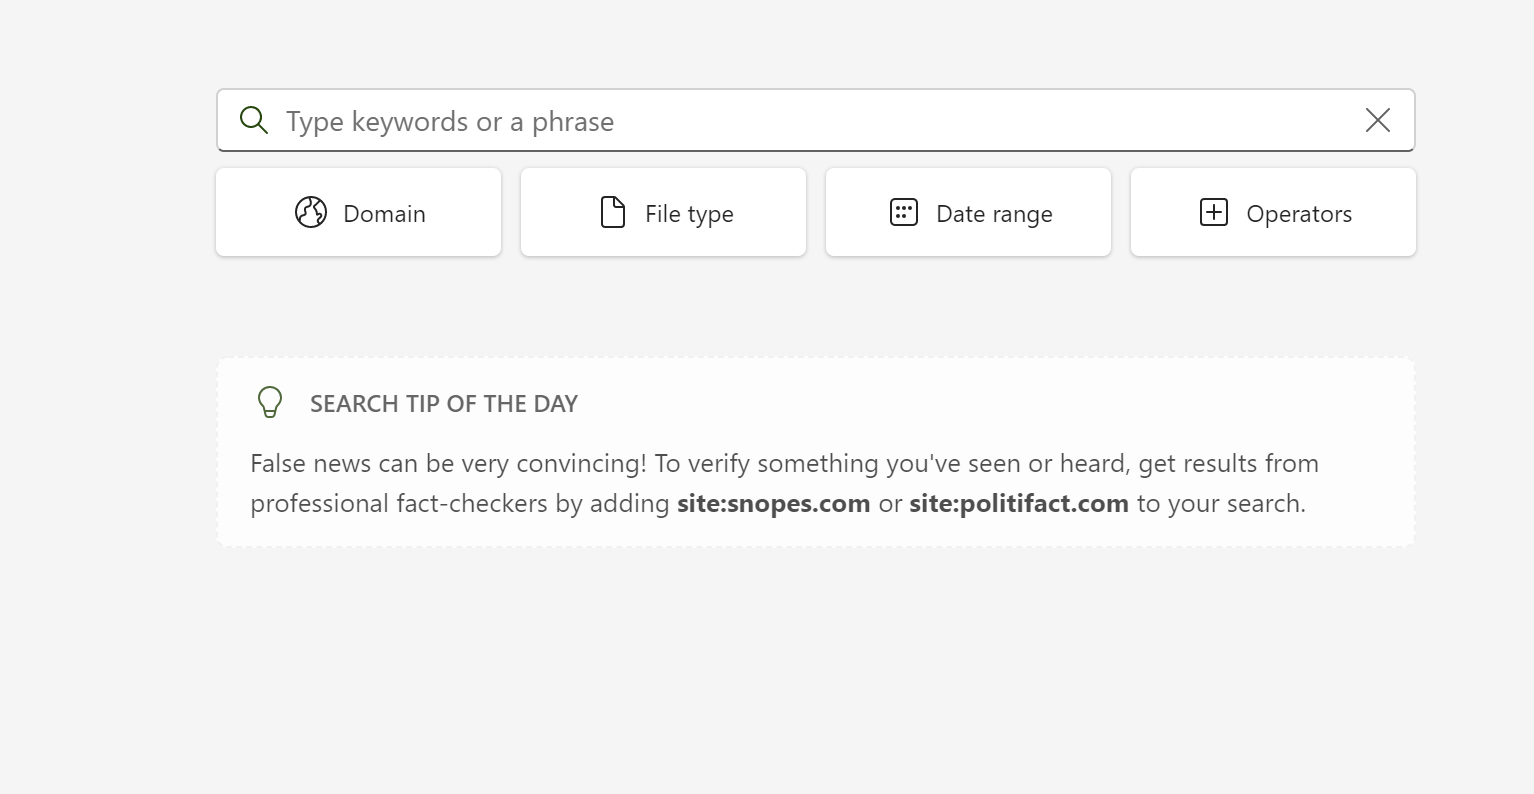
Now the only problem is, what you are gonna search? For that problem, my solution is always thinking about the subject you are looking for, and then just ask. So simple. But let’s continue to discover what settings you can change here before you start to search.

On this domain page, you can change where you want your information to came, you can choose one country if you like or if you want only .edu sites or .gov sites. It’s totally up to you.
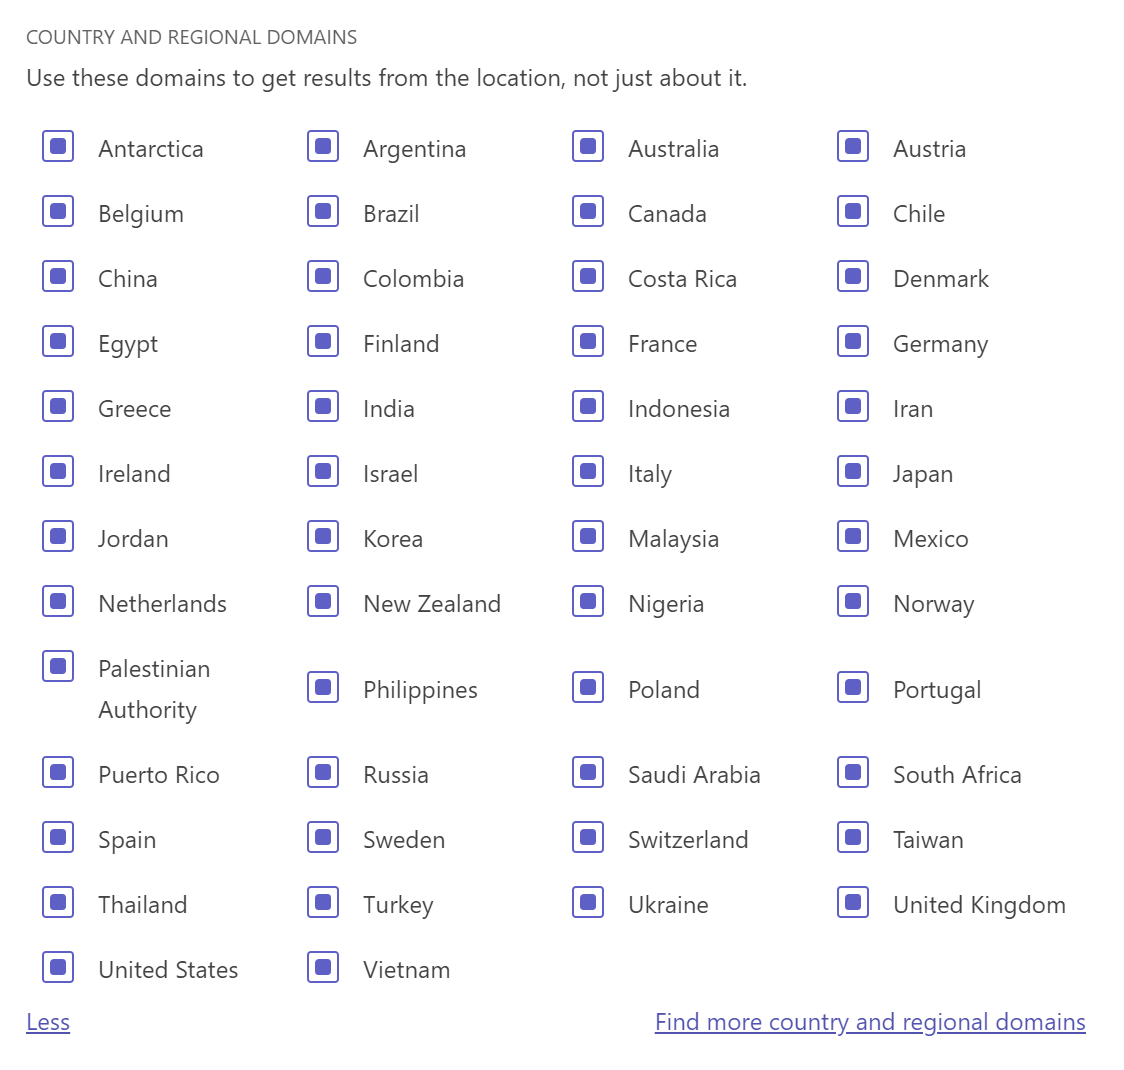
If you want to choose your favourite regional domain, here are the countries that you can choose right now.

Next on is File type. You can choose if you want to search only ppt:s, pdf:s, or just doc files.

Next you can choose how old is your data.

The last on the line here is “Operators” what does that mean is, that you can make a more specific search with the buttons of “OR” “NOT” “AND.”
For example, I don’t want that information, and I want that information…
That is how that Search Coach works.
Next, let’s go to Assignments and see how you can use it there.

Here we are, our normal Assignments page and we are starting to make the next assignment. But as you can see on the bottom of that picture, there is a new part called “Learning Accelerators”. Let’s go there.
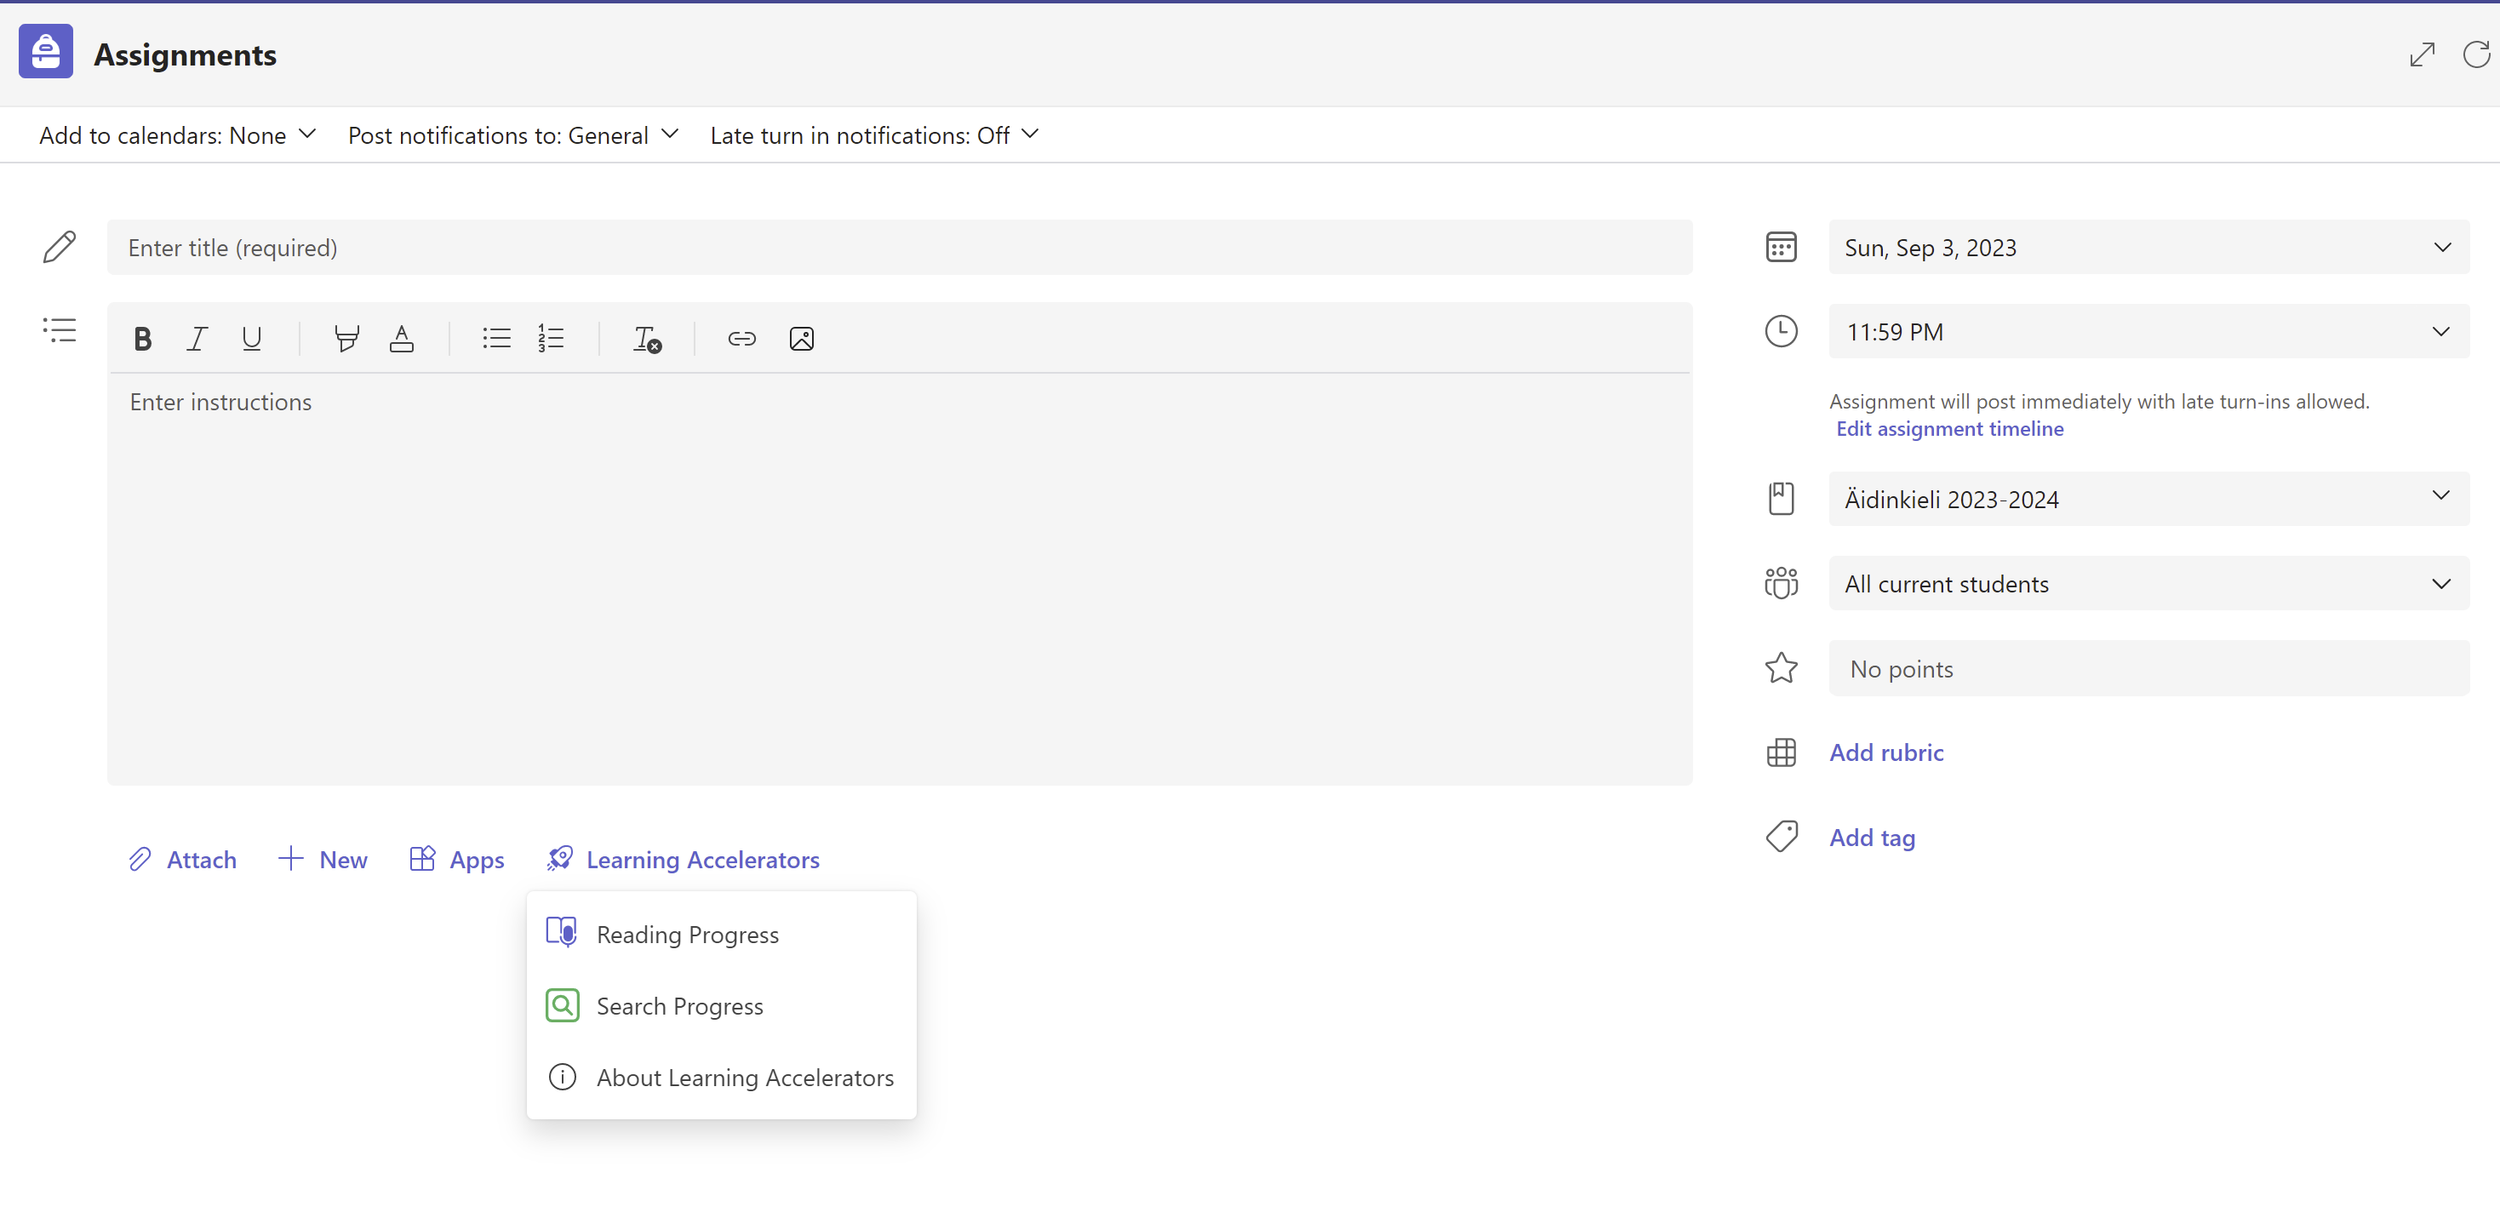
There you can see 3 different things: Reading Progress, Search Progress and About Learning Accelerators.
Later this year there will be more Accelerators for you to use, but now let’s continue with our Search Progress, so let’s click there.

Here we are, in our Search Progress page where you can see the welcoming text, Get Started and Learn more.
After you have read those you can close that windows by clicking the X mark.

On the right side of the window, we have some settings. Let’s see what you can do with those.

Sources - when you’re making a school presentation on elephants, birds, some country, whatever the subject is, you probably don’t remember all the necessary information about it, and that’s why you need to go to some pages (sources) and see that information, and then you can write your schoolwork.
You need your sources, where you can find your information.
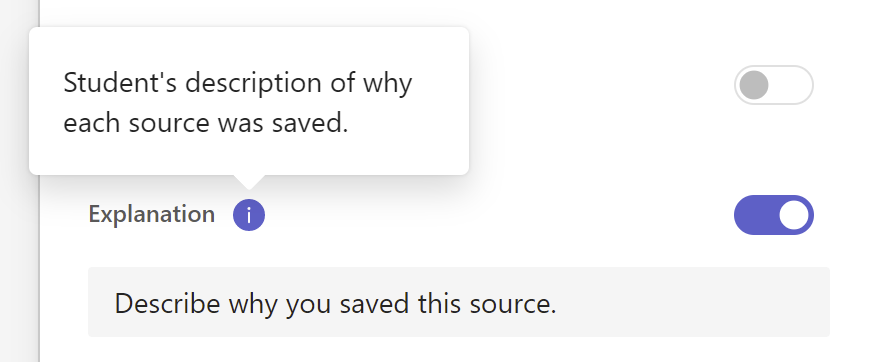
Here you can choose, if you want students to write some explanation why did they save that Source.

And last but not least it’s the Reflection. Here students can write of the overall experience of this assingment.
As you may see on those pictures, there are many things that are coming into this Search Coach, so stay tuned for more updates.

That was the right side of the assigment page, The Search Coach itself is on the left side on the page where students will do their searches.

And after you have set all the necessary settings etc. then you will come back to this page where you can set the main assignment. And as you can see the Search Progress task is ready for students.
Don’t forget to set the basic Assignment settings before you hand this one to students.
That was it, that’s how you use Search Coach, set it up to your Team, set it up to your Assignment.
No it’s your turn to make the perfect assignment, with the Search Progress and see what the students will return to you.
Thank you for reading this, I hope it has some help for you. Off to the next blog post. See ya o/