Teams basics Pt.1 - Installing Teams!
Everytime you start using new software, what is the first thing you need to do? Install it, of course. And as the headline says, this is Teams basics pt.1 - Installing Teams.
I’m going to write a Teams basics series, where you can learn everything about Teams (Education side, more precisely). There are, of course, other Teams “variants” as well, but we’ll stick with the Education side. And to be even more precise, these guides are for PC users only. After these, I can propably write a Teams basics for mobile users. But let’s start.
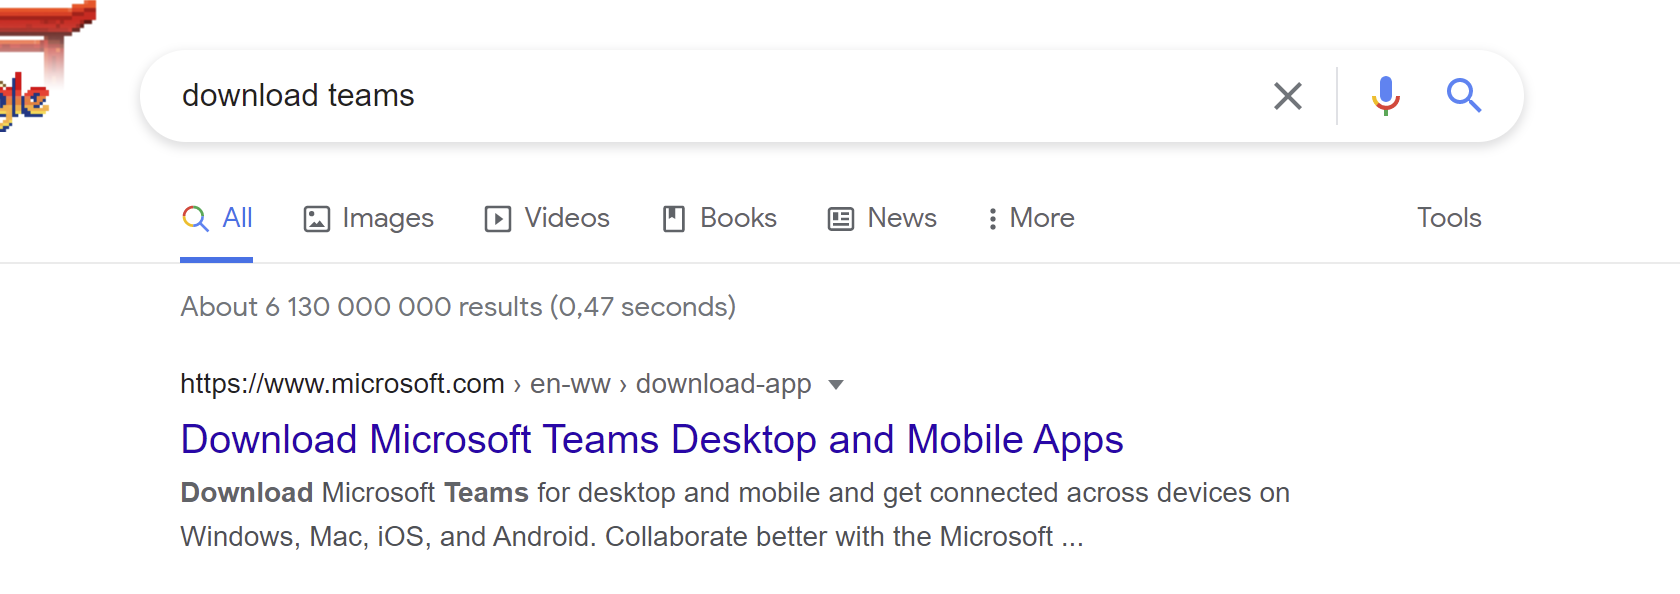
As you can see in the picture, go to Bing, Google, or whatever search engine you are using. Then type in “download teams”.

The first link you can find is propably microsoft.com etc. Click it and you’ll find yourself onto the Microsoft Teams homepage, where you can download Teams.

The file itself is not that big, approximately 120Mb.

The installing part is easy, just install. But after installing, you’ll have to type in your own account info, so that you can login to Teams. In this education case, your it-support or someone else from your school knows about these accounts.

And the password is always good to remember. And of course, is you account in MFA?
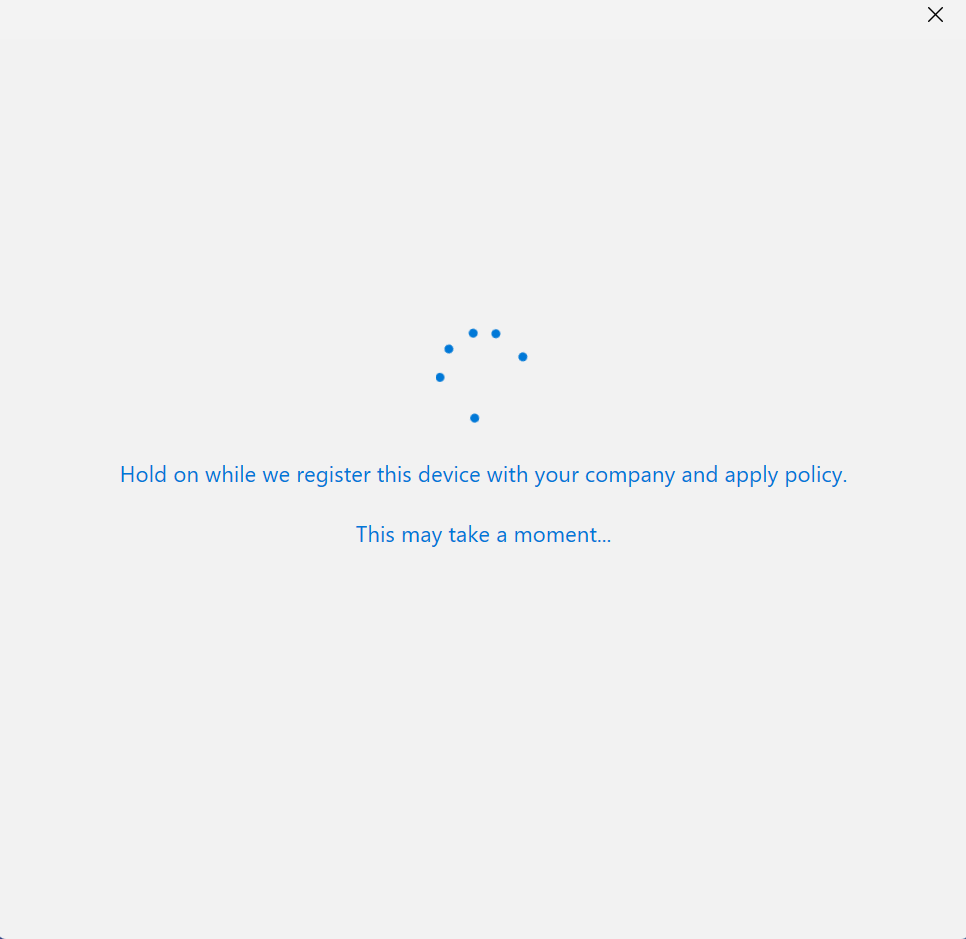
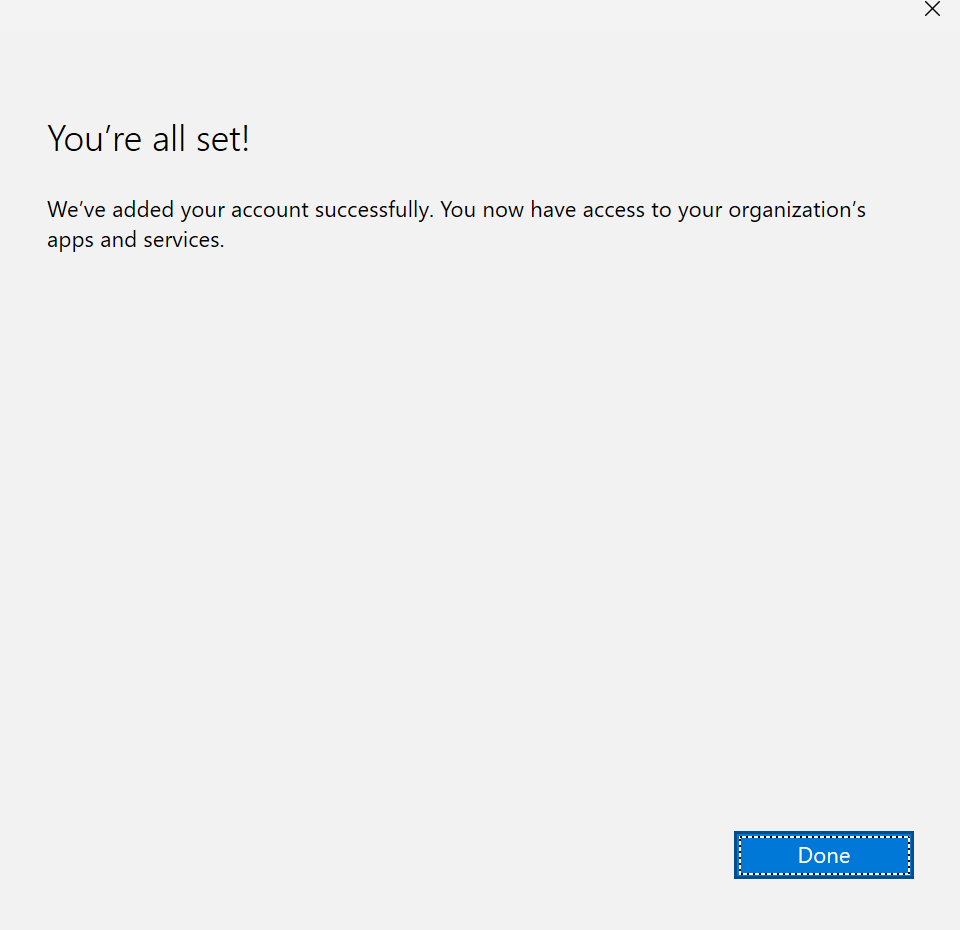
And then when you have successfully logged in, your company (school) policies will register your computer and apply policies what have been granted for this account.

And finally we are here, your very own Teams frontpage (on this printscreen it’s teams with Viva connections).
There we are, Teams is now installed. The next thing is to create some Teams and channels. But that is a topic for another blog post. See ya.